")
使用 Github Pages 写作
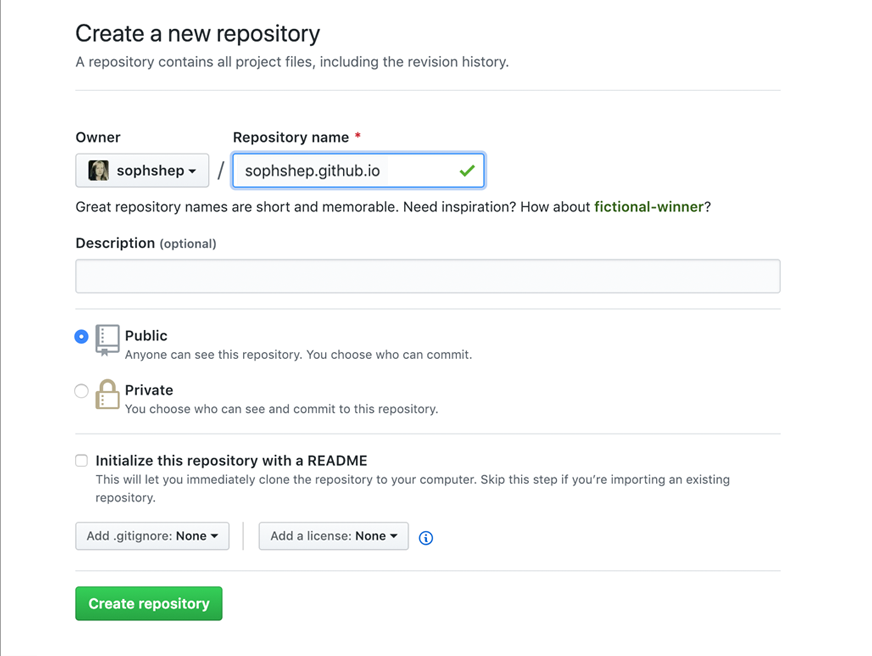
首先 下载 Git,安装,然后 注册 Github,点击 这里 新建一个名为 <username>.github.io 的仓库:
本地新建一个同名文件夹,右键 Git Bush Here:
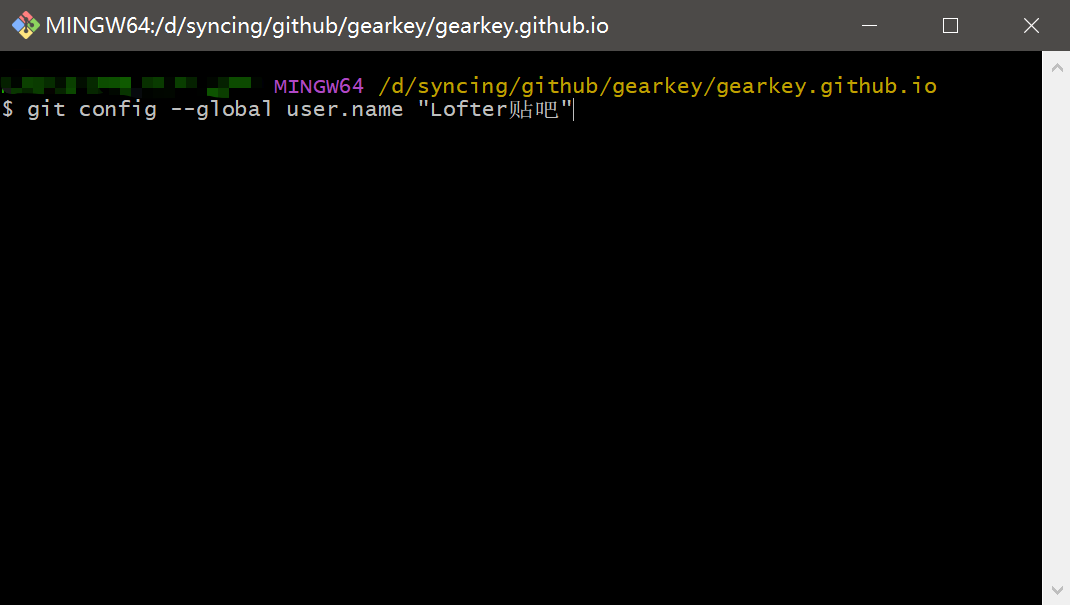
配置账号(以下开始每行复制粘贴后回车执行,注意有些地方要填入自己的信息):
git config --global user.name "Your Name"
git config --global user.email "[email protected]"
创建仓库(以下整段复制粘贴执行,最后记得还要回车一下):
git init
mkdir _posts
echo -e "---\nlayout: home\n---" > index.md
echo -e "---\nlayout: page\ntitle: About\npermalink: /about/\n---\n\nabout" > about.md
echo -e "---\nlayout: post\ntitle: 第一篇文章\ncategories: 默认分类\ntags: 第一篇 文章 Hello World\n---\n\nHello World" > _posts/2023-01-01-post-1.md
echo -e "title: Your awesome title\ndescription: balabala\ngithub_username: jekyll\npermalink: /:title.html\ntheme: minima\nplugins:\n  - jekyll-feed" > _config.yml
echo -e ".jekyll-cache\n_posts/*-draft.md\n_site" > .gitignore
git add --all
git commit -m "Initial commit"
关联远程仓库
先做一些准备:
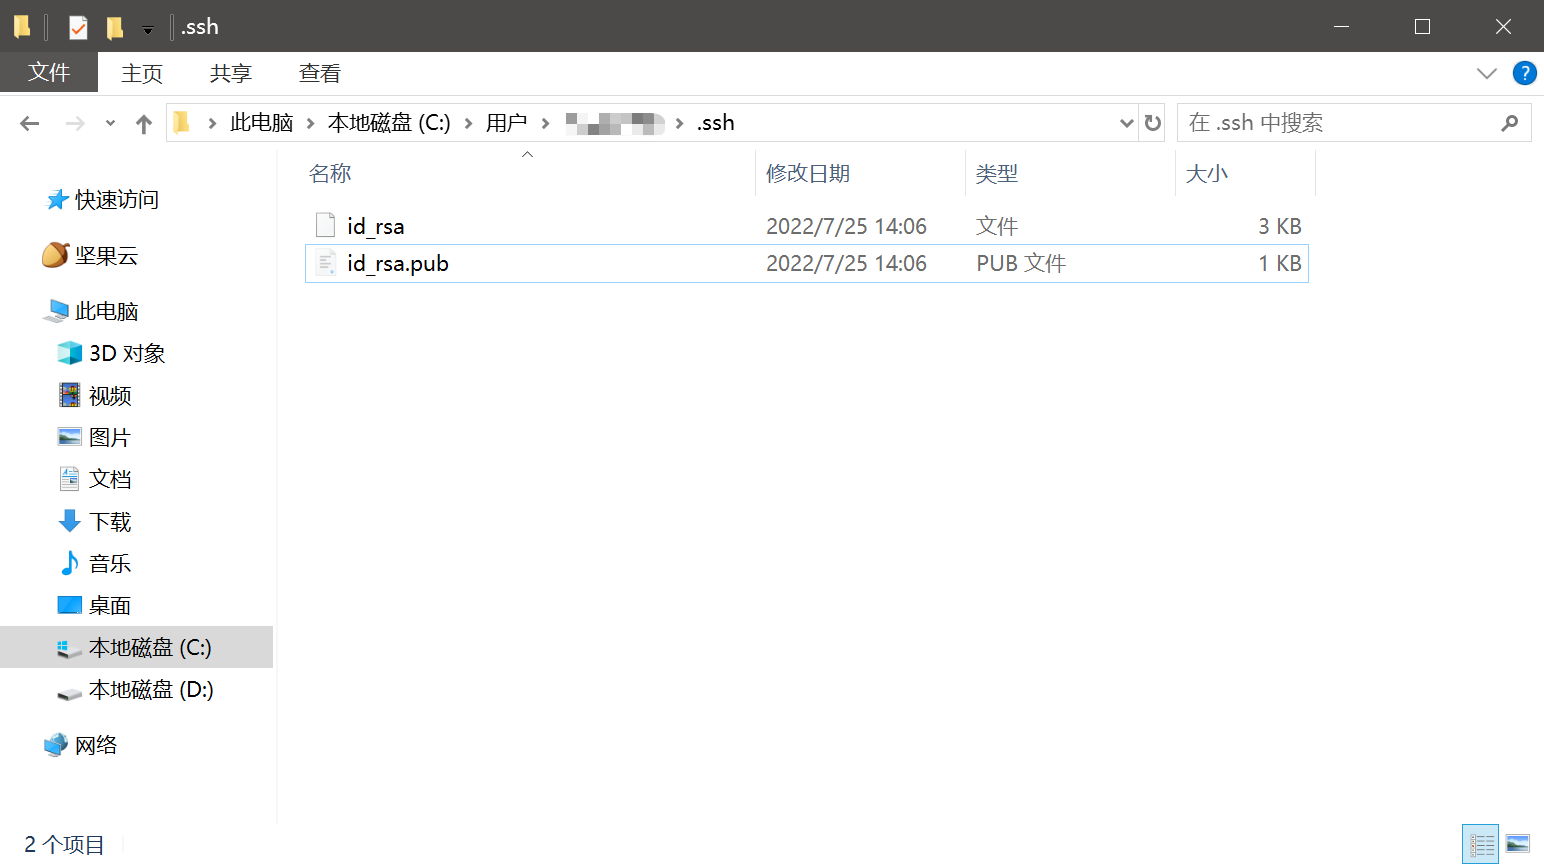
ssh-keygen -t rsa -C "[email protected]"
一路回车,于是会在用户主目录里看到 .ssh 目录,里面有 id_rsa 和 id_rsa.pub 两个文件,分别是私钥和公钥。
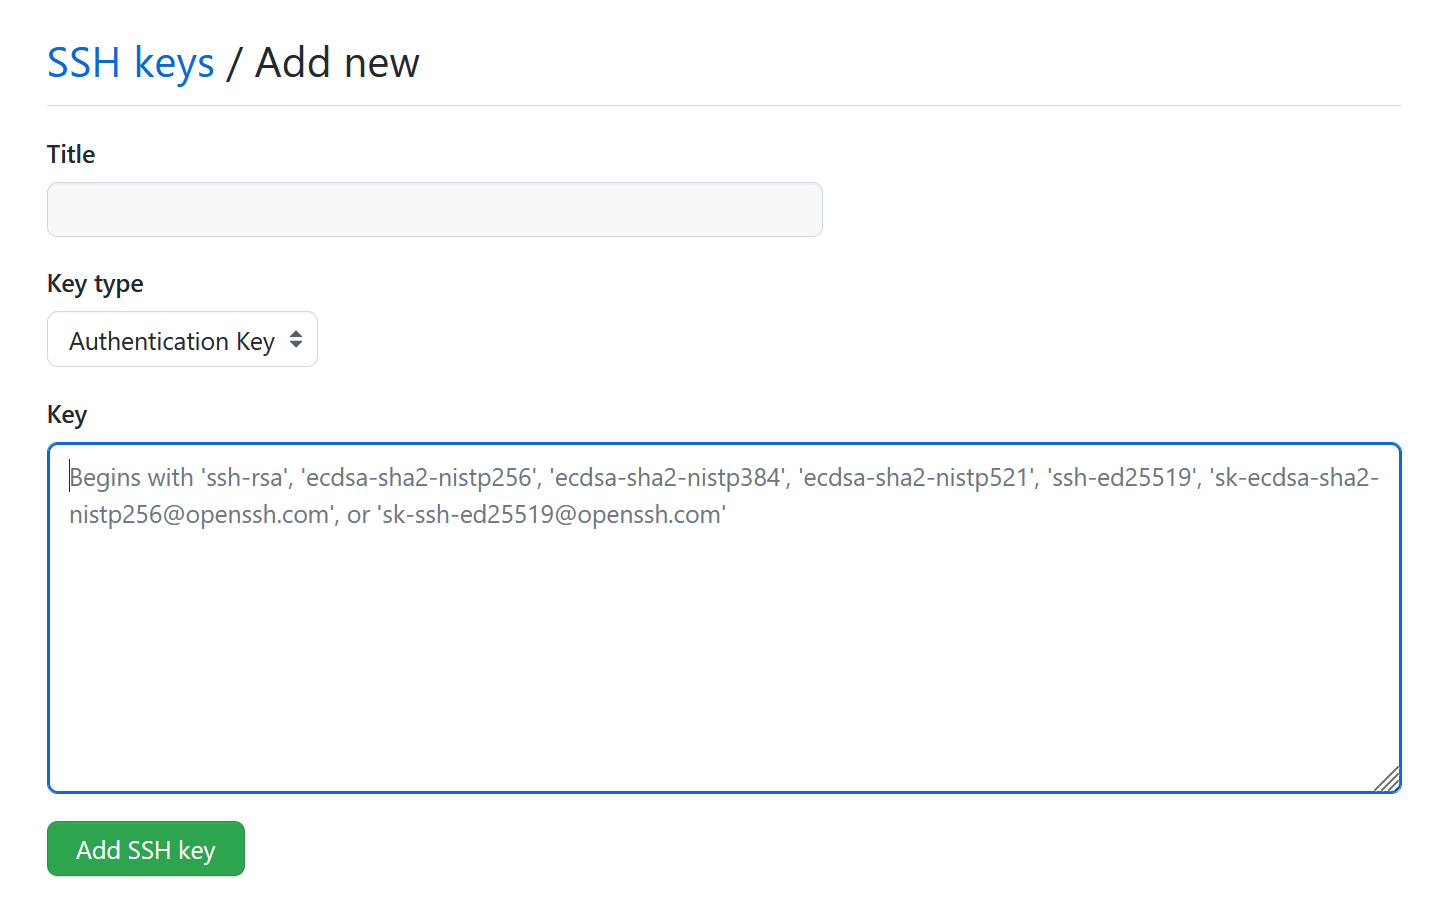
登陆 GitHub,打开【Account settings】-【SSH Keys】页面,然后【Add SSH Key】,Title 用于区分设备,在 Key 文本框里粘贴 id_rsa.pub 文件的内容。
把内容从本地推送到远程仓库:
git remote add origin [email protected]:Gearkey/gearkey.github.io.git
git push -u origin master
稍等一下,访问 <username>.github.io 会发现站点已经搭建好了。
开写
创建新文章,只要依葫芦画瓢地在 /_post/ 下新建类似 2023-01-01-post-1.md 的文件即可。
需要熟悉一下 Markdown 语法,以下是简单手册:
标题:##
链接:[文字](https://)
图片:
无序列表:+
有序列表:1.
分割线:---
删除线:~~要删除的文字~~
特别注意,换行需要在句末打两个空格,否则不会生效,两个回车就是分段。
直接发链接要用 <> 包裹,推荐使用 VSCode 编辑,默认模板不支持分类和 Tag,但已经可以简单使用了。
更新远程仓库
每次做好编辑都提交一下:
git add --all
git commit -m "编辑 post-xxx"
Commit 的引号里可以写上当前做出的修改内容,方便回到任何一个时间点。
可以发布后:
git push origin master
推送到远程仓库,同样地,稍等一下,访问 <username>.github.io,就可以看到文章已经更新了。